🚚 FREE DELIVERY IN UKRAINE • 📞 QUICK ORDER: +380 63 571 3650 • 📚 STEM KITS FOR HOME, SCHOOL AND CLUBS
🚚 FREE DELIVERY IN UKRAINE • 📞 QUICK ORDER: +380 63 571 3650 • 📚 STEM KITS FOR HOME, SCHOOL AND CLUBS
🚚 FREE DELIVERY IN UKRAINE • 📞 QUICK ORDER: +380 63 571 3650 • 📚 STEM KITS FOR HOME, SCHOOL AND CLUBS
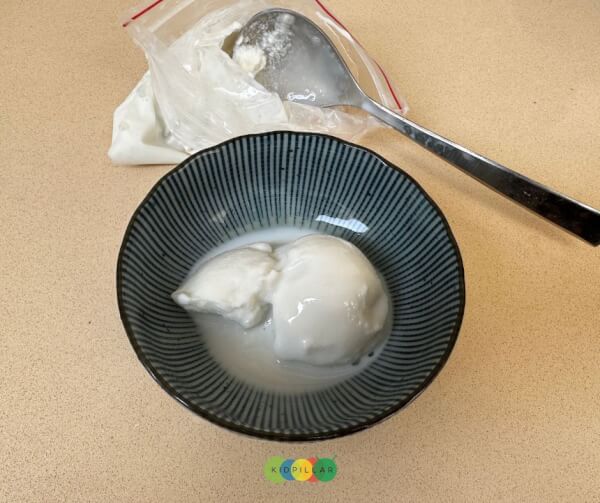
How To Make Ice Cream in a Bag – STEM Experiment for Kids
On a warm summer Sunday, there is nothing more pleasant than making your own light homemade ice cream in a bag for children. Keep in mind that
On a warm summer Sunday, there is nothing more pleasant than trying to make simple homemade ice cream in a bag for children.
Note: Freezing bagged ice cream only takes 5 minutes and is super easy. In addition, it can be prepared without a refrigerator, so this recipe will definitely interest your child.
Yes! It can be prepared without a refrigerator or freezer! Want to learn how? Then read on!
- How to make ice cream in a bag?
- The science behind packaged ice cream
- Frequently asked questions
How to make ice cream in a package for children?
That’s why I love this homemade ice cream recipe so much! First, it is delicious. Secondly, it is easy to prepare. Thirdly, your children will be delighted to be able to make their own ice cream in a bag.
Fourth, and my favorite, is a fun STEM experiment for kids! So, your kids will learn something interesting while enjoying cooking.
Before we discuss the science behind bagged ice cream, let’s get straight to making it!
With this recipe for ice cream in a package, we will prepare vanilla ice cream! Feel free to decorate your delicious ice cream with your favorite toppings.
Choose from chopped fresh fruit, chocolate syrup, dried fruit, tutti frutti or other sprinkles. Let the children choose the toppings themselves; they will enjoy making ice cream even more!
If your child chooses “sliced fruit” as a topping, make sure you cut it and they plate it!
Ice cream in a package Ingredients
- “Half and half” – 1 glass
Half and half is easy to find in the store, but it can also be made at home. To make half and half, mix ½ whole milk and ½ cream, that’s one cup whole milk and one cup cream!
If you don’t have cream at home, don’t worry! You can easily make cream in your own kitchen.
All you need is milk! Pasteurize the milk in a large container and leave it in the refrigerator for 12 hours. The fat (cream) contained in the milk will automatically rise to the surface, forming a thick layer of fresh cream.
Why should you use a large capacity? The bigger the container, the bigger the layer of cream you will get! If you need more cream, leave the milk for 12 hours in two containers.
- Sugar
Of course, you’ll need sugar to make your homemade ice cream taste like sweet summer heaven!
The amount of sugar will depend on the amount of ice cream you want to make! For this recipe, we will take one tablespoon of sugar, unless of course you have a sweet tooth! Feel free to taste the mixture before freezing it!
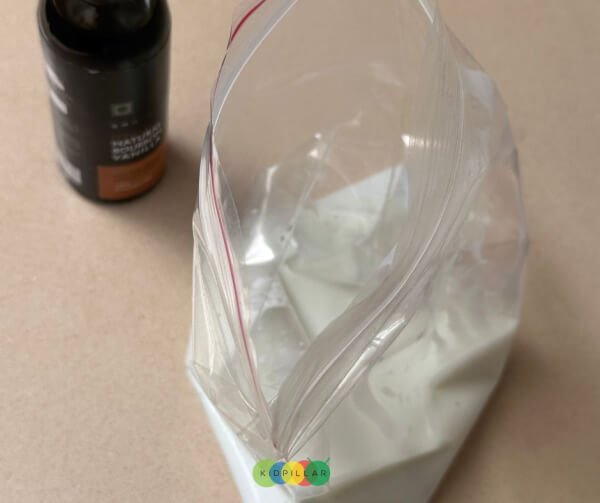
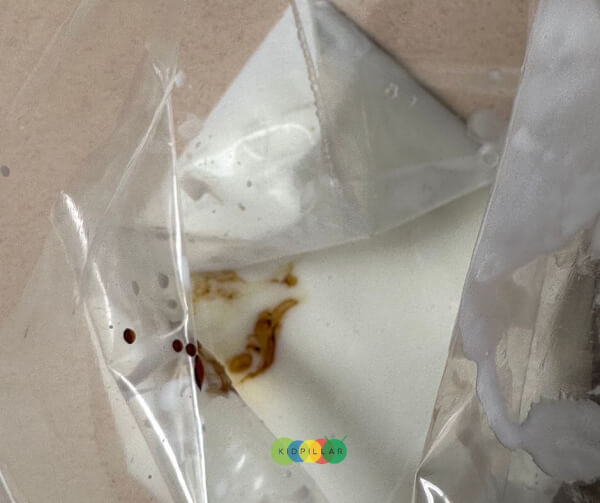
- Vanilla extract
- Salt
Although you can use any salt you have at home, the best choice would be rock salt with coarse crystals.
- Ice cubes
- 3 bags with a fastener
Easy step-by-step instructions for making ice cream in a bag!
Quick Tip: Combine this fun activity with ice cream making.
If your children liked making ice cream in a bag and they are looking for similar interesting activities, we advise you to try making a fruit ice cocktail using the same technology. All you have to do is replace the milk with the fruit juice of your choice and the vanilla with lemon juice and chopped mint leaves.
Imagine watermelon popsicles on a warm summer evening or pineapple popsicles for a fun birthday party where each child makes their own popsicle!
The science behind packaged ice cream
Wondering how ice cream in a bag works? How do ice and rock salt help freeze ice cream in five to six minutes? This is not a magic trick, but purely science!
First, adding salt lowers the freezing point of ice cubes. Therefore, ice cubes melt naturally even at 0 ℃. And here is the most interesting thing – when the ice melts, it naturally takes heat from the environment. In this case, from your ice cream bag!
Related: Try This Artificial Snow Experiment Too! It’s super fun and easy to do.
The more the ice melts, the more heat it takes from the milk and cream mixture. The process happens so quickly that it takes all the heat from the ice cream bag and freezes the milk and cream mixture.
This is also the reason why we wear gloves when shaking the mixture: it prevents the heat from being transferred from our hands to the ice cubes.
We shake the bag of ice cream for two reasons:
- This breaks the large ice crystals into smaller ones.
- The mixture freezes evenly throughout the batch.
Quick Tip: While you’re making this summer treat, ask the kids a summer quiz to give them some fun summer facts!
Bagged Ice Cream Recipe FAQ!
Ice cream in a bag sounds very complicated, but it’s actually very easy to make! It’s a great science demonstration, reminiscent of a transfiguration class at Hogwarts.
Source: How to Make Ice Cream In a Bag