🚚 FREE DELIVERY IN UKRAINE • 📞 QUICK ORDER: +380 63 571 3650 • 📚 STEM KITS FOR HOME, SCHOOL AND CLUBS
🚚 FREE DELIVERY IN UKRAINE • 📞 QUICK ORDER: +380 63 571 3650 • 📚 STEM KITS FOR HOME, SCHOOL AND CLUBS
🚚 FREE DELIVERY IN UKRAINE • 📞 QUICK ORDER: +380 63 571 3650 • 📚 STEM KITS FOR HOME, SCHOOL AND CLUBS
Colour Changing Oobleck – Magical Science Experiment for Kids – KidPillar
We love playing with oobleck and have probably done it a million times. But this time we wanted to try something new and
We love playing with the ublex and have probably done it a million times. But this time we wanted to try something new, and the result is a color-changing ublex!
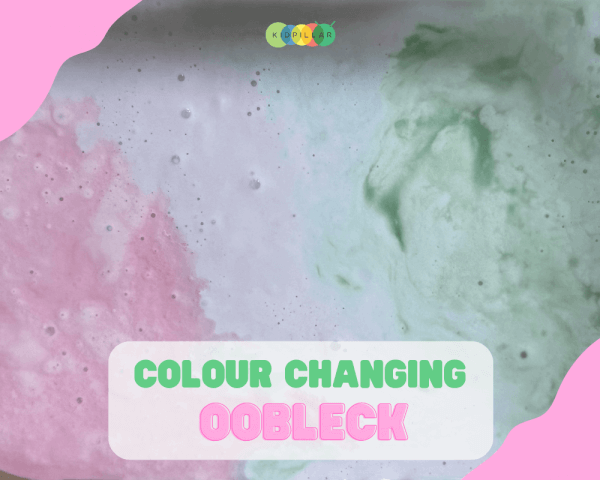
The color-changing Ublek looks like it was taken straight out of a potions class from the Harry Potter movies! One moment it is pink, and the next it turns green.
- What is “Ublek”
- The Science Behind Ublek
- How to make “Ublek” that changes color
- Science experiment with “Ublek”, which changes color
If your kids love all things magical, we’re sure they’ll love this incredible twist on the classic Ublek.
But before we dive into the color-changing Ublek science experiment, let’s understand what Ublek is and the science behind it.
What is “Ublek”
Ublek is neither a solid nor a liquid. It is a non-Newtonian fluid that mimics the properties of both a liquid and a solid, depending on the force acting on it.
Named after a substance featured in Dr. Seuss’ Bartholomew and Ubleck, it is also known as “goop” and “magic dirt.”
Scientific foundations of “Ublek”
The unusual behavior of “Ublek” is explained by the properties of corn starch particles. When mixed with water, cornstarch particles remain in the water, forming a suspension. Their unique molecular interaction causes non-Newtonian properties.
The solid cornstarch particles move together under pressure, forcing the water particles out. Thus, under pressure it behaves like a solid. In the absence of pressure, the suspension moves smoothly, behaving like a liquid.
Now that we’ve covered the basics of Ublek, let’s get to the nitty-gritty of creating a color-changing Ublek.
Ublek, which changes color
Color-changing Ublek is a fun science experiment for kids of all ages. Toddlers will love its ability to change color and non-Newtonian properties, while older kids can learn a lot about science with this simple science activity.
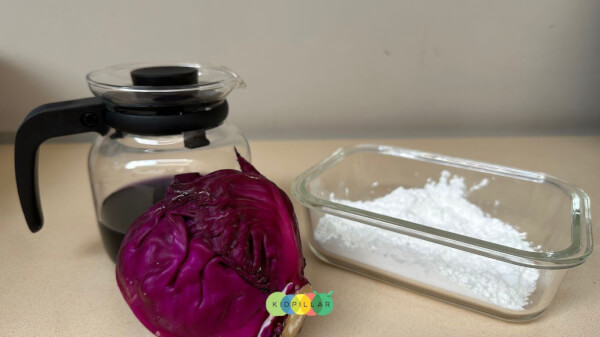
What you will need to prepare this “Ublek”:
- pH indicator: 1 cup
- Corn starch (corn flour): 2 cups
- Mixing bowl
- Shoulder
The color-changing Ublek is prepared according to the same principles as the classic Ublek, except for one key difference – the pH indicator. In this recipe, “bleached” water is replaced with a pH indicator. Here’s how to prepare a pH indicator at home.
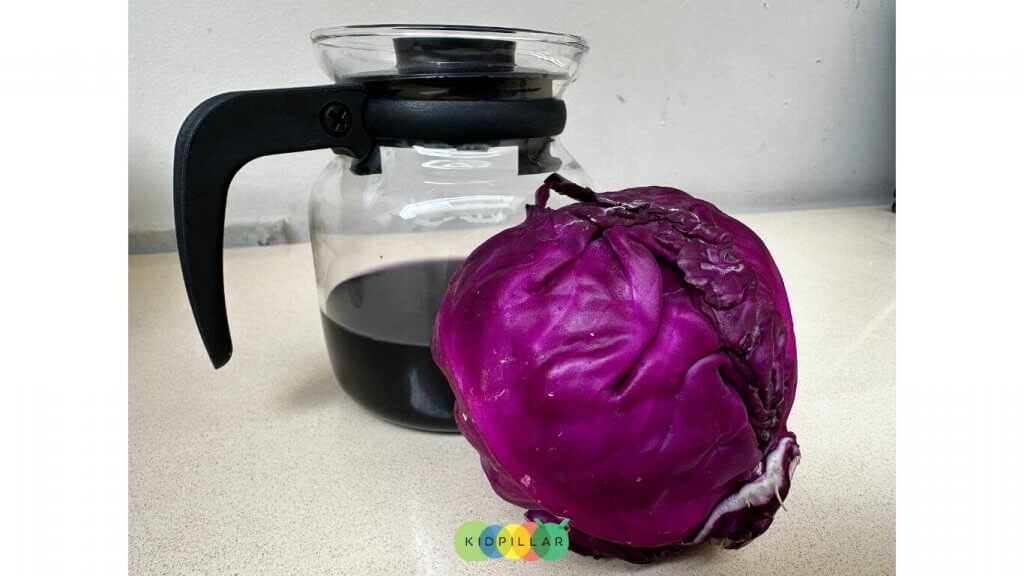
How to make a pH indicator at home
Making a natural pH indicator at home is quite simple, although it may seem complicated. All you have to do is boil red cabbage in water for a few minutes. Alternatively, you can grind cabbage in warm water and strain the mixture to get a pH indicator.
Quick tip: In our region, red cabbage is only available part of the year, so to keep the fun going when it’s not available, we freeze it so it’s always on hand.
How to make “Ublek” that changes color
Your weird color-changing “Ublek” is ready. And now it’s time to start the fun!
Science experiment with color-changing Ublek
For this fun science experiment for kids, you’ll need an acid and a base to change the color of the mixture you’ve made. We used popular ingredients that are always at home – lemon juice and baking soda
Materials for a scientific experiment with “Ublek”, which changes color
- Lemon juice or vinegar
- Baking soda solution
- Pipettes
How to do it:
- First, mix baking soda and water in a bowl to make a basic solution.
- Take a solution of baking soda and lemon juice in two different pipettes and add a few drops to each side of the dish. At the point of addition of acid and alkali, ooblek will change color almost instantly.
Stir the lye slowly to mix the acid and alkali in it. As you stir, the blek will begin to change color. Try holding the acid and alkali at opposite ends to see three colors at once in your ubleak.
The part of the bleach that changes color and interacts with the alkali will turn blue, although it looks green in the photos, and the part that has mixed with the acid will turn pink.
We just loved watching the bleak change color! Keep adding acid and alkali to the solution to see the reaction. And don’t throw it away until you’ve enjoyed it to the fullest.
Related: Also try this quick and easy rainbow bleak recipe!
Try to mix different colored parts. Ours were neatly folded and we used our hands to blend the different colored pieces together. And this led to another interesting scientific experiment — the formation of bubbles!
When you mix the acidic part of the whites with the alkaline part, the lemon juice and baking soda react to create bubbles! So now we’ve turned the color-changing blek into a demonstration of the baking soda and vinegar experiment!
After a while the bubbles will settle and you will see another color in your “bleak”! This time it will be a dirty, pale blue shade because the acid and alkali have neutralized each other and turned the “bleak” into a more alkaline solution.
Related: Don’t Stop There, Check Out Harry Potter-Inspired Magical Experiments for Kids for Amazing Fun!
That’s what we love about science experiments. One thing always leads to another! Such a fun way to learn and explore.
Make sure your kids have a blast with the ublék by squishing and squeezing it to see its amazing properties before throwing it away. Check out our quick guide to responsible waste disposal.
FAQ
Source: Colour Changing Oobleck – Magical Science Experiment for Kids